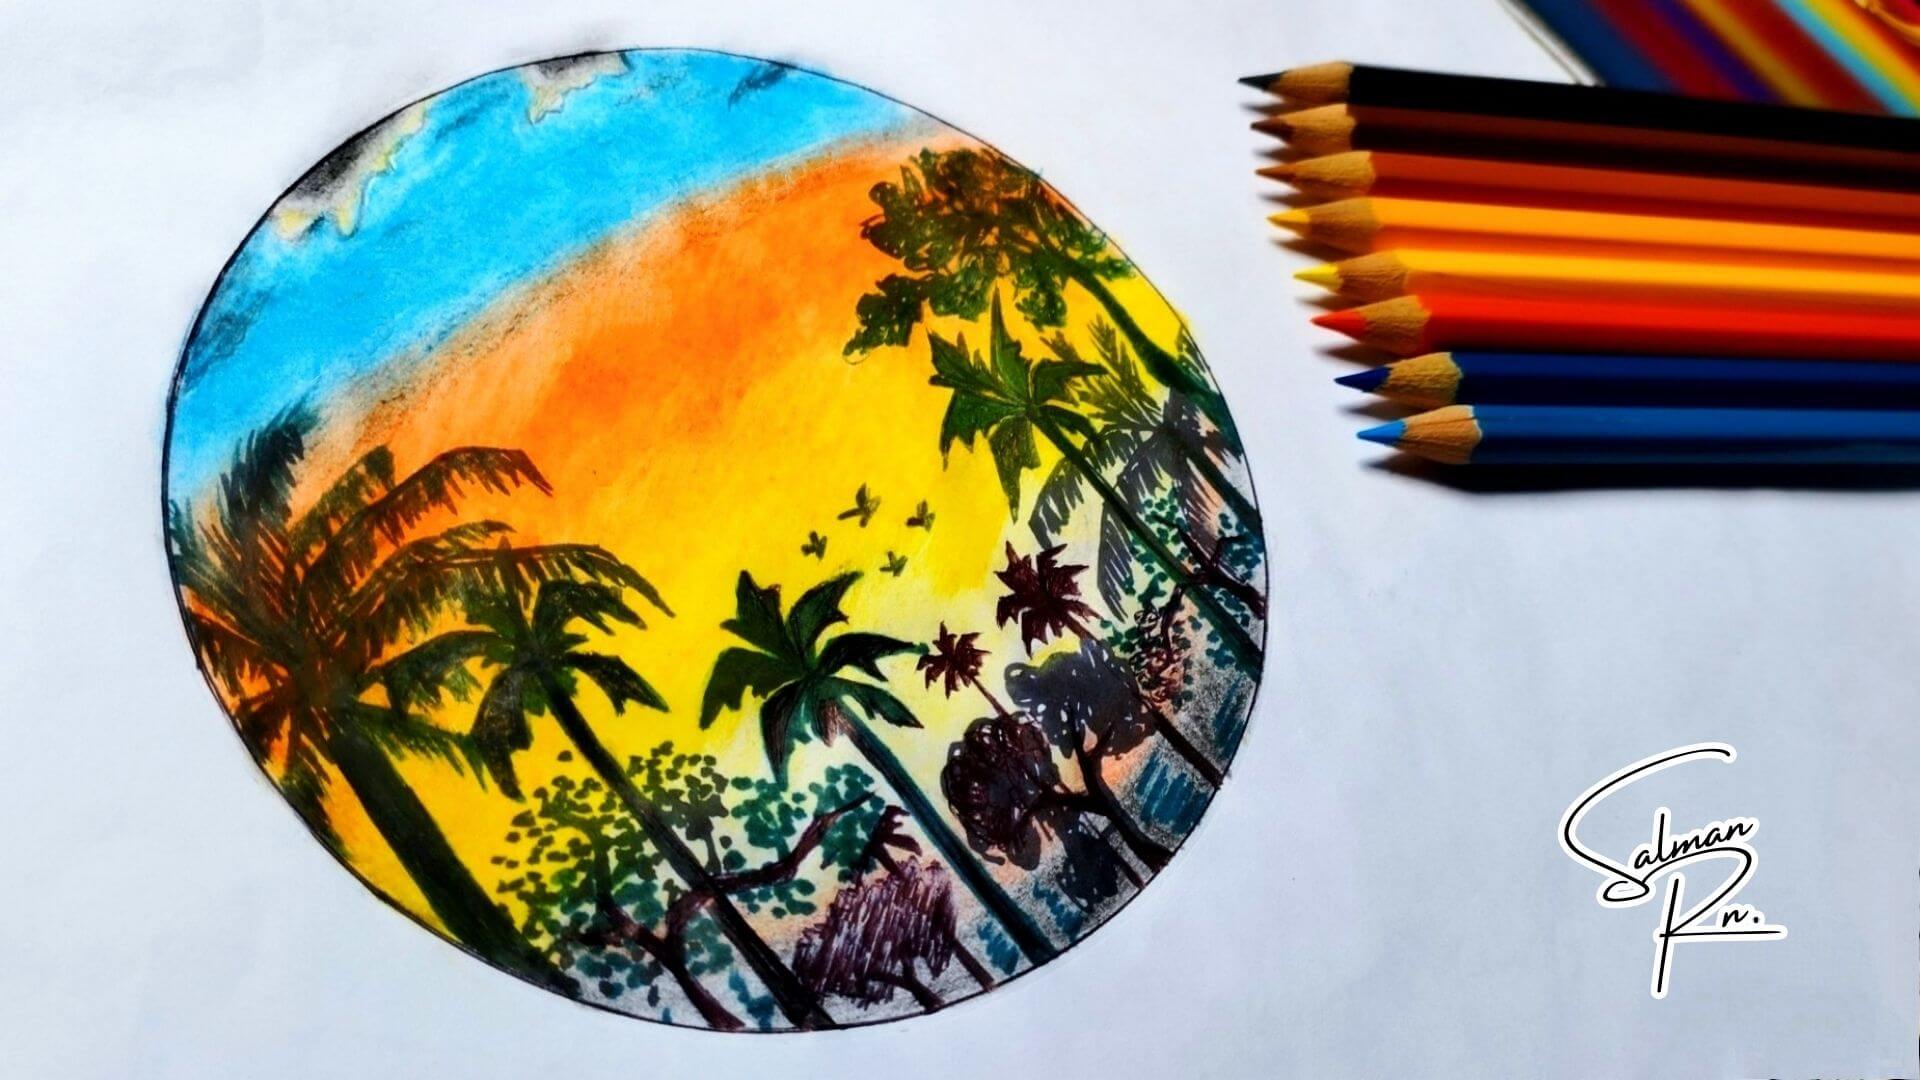
There’s something magical about a sunset. The warm hues blending seamlessly into cool shadows, the vibrant colors stretching across the horizon, and the tranquil atmosphere it creates make sunsets a timeless source of artistic inspiration. If you’ve ever been mesmerized by a sunset and wondered how to capture its beauty on paper, you’re not alone. Sunset scenery drawing is one of the most popular subjects for both beginner and experienced artists.
In this article, we’ll explore everything you need to know to create your own stunning sunset scenery drawing. Whether you’re picking up a pencil for the first time or looking to refine your skills, this guide is packed with tips and techniques to help you get started.
Why are you Drawing a Sunset? – Know The Courage!
Sunsets symbolize serenity and beauty, making them a favorite for artists. Drawing a sunset is not only therapeutic but also an excellent way to practice blending colors, creating depth, and experimenting with light and shadows. Plus, the versatility of sunsets allows you to use different mediums such as colored pencils, watercolors, or digital tools.
Getting Started: Materials You’ll Need
Before you start your sunset drawing, gather the right materials. Here’s a checklist:
- Paper or Canvas: Choose a smooth paper for pencil drawings or textured paper for watercolors.
- Pencils: Graphite pencils for sketching and colored pencils for vibrant details.
- Eraser: A soft eraser for corrections and highlights.
- Blending Tools: A blending stump or your fingers to smooth transitions between colors.
- Color Mediums: Colored pencils, oil pastels, or watercolors for the sunset hues.
- Reference Image: A photo of a sunset can provide inspiration and help with composition.
Step-by-Step Guide to Drawing a Sunset Scenery
Step 1: Choose Your Composition
Think about what kind of sunset you want to create. Will it include mountains, trees, a beach, or a cityscape? Start with a mental image or reference photo. Pay attention to the elements like the sun’s position, the horizon line, and any silhouettes you want to include.
Step 2: Sketch the Basics
Use a light pencil to sketch the horizon line, the position of the sun, and any major elements like trees, mountains, or water. Keep the lines faint so they’re easy to erase or blend later.
Step 3: Lay Down the Sky Colors
A sunset sky typically transitions from warm tones (yellow, orange, red) to cooler tones (purple, blue). Start with the lightest color (yellow) near the sun and gradually layer darker colors as you move away from the light source. Blend the edges between colors for a smooth gradient.
Step 4: Add the Sun and Horizon Glow
The sun is often a bright white or pale yellow spot in the sky. Envelop it in a gentle halo of warm hues to evoke the impression of radiant light. Use gentle blending to ensure the sun appears natural and radiant.
Step 5: Incorporate Silhouettes
Silhouettes of trees, birds, or buildings add depth and contrast to your drawing. Use a dark pencil or color (like black or dark brown) to sketch these elements. Maintain a simple and sleek shape for a visually appealing result.
Step 6: Add Reflections and Details
If your scene includes water, add reflections of the sunset using horizontal strokes that mimic the sky’s colors. Enhance the overall atmosphere by including details like faint clouds or soft highlights on the edges of silhouettes.
If you still don’t understand or get the impression of drawing, don’t worry. Watch a step-by-step sunset scenery drawing video. It will help you understand the drawing process and give you the impression of drawing easily.
Tips for Perfecting Your Sunset Drawing
- Practice Blending: Smooth transitions between colors are essential for realistic sunsets. Use blending tools or layer colors lightly for a polished look.
- Experiment with Mediums: Watercolors create soft, dreamy skies, while colored pencils offer more control. Choose a medium that suits your style.
- Use a Reference Image: Studying real sunsets can help you understand color gradients, light placement, and natural elements.
- Play with Shadows and Light: Shadows on the ground or objects can add realism and drama to your drawing.
- Be Patient: Mastering a sunset drawing takes time and practice. Don’t rush the process; enjoy the journey!
Common Mistakes to Avoid
- Overblending: Blending too much can muddy the colors. Aim for smooth transitions without losing the vibrancy.
- Neglecting Composition: Plan your scene carefully to avoid overcrowding or awkward placements.
- Skipping the Sketch: A good sketch provides a strong foundation and helps prevent mistakes later on.
Explore more drawings guide step-by-step: Painting Landscapes With Oils: Begin of Colors and Creativity
Inspiring Ideas for Sunset Scenery
If you’re looking for inspiration, here are some themes to explore:
- Beach Sunset: Include palm trees, waves, and sand for a tropical vibe.
- Mountain Sunset: Use jagged peaks and valleys to create a dramatic backdrop.
- Forest Sunset: Add tall trees and soft glows filtering through leaves.
- City Sunset: Silhouettes of buildings against a vibrant sky create a modern twist.
Why Practice Sunset Scenery Drawing?
Learning to draw sunsets enhances your artistic skills in several ways:
- Color Theory: You’ll improve your understanding of complementary colors and gradients.
- Perspective: Sunset drawings often involve horizons, teaching you about depth and scale.
- Creative Expression: Each sunset is unique, offering endless opportunities to experiment.
Final Thoughts
Drawing a sunset scenery is a rewarding experience that combines creativity, technique, and personal expression. Whether you’re aiming for a realistic depiction or a whimsical interpretation, the process is both relaxing and fulfilling. Remember, practice makes perfect, so don’t hesitate to try different styles and approaches.
Now that you’re equipped with tips and techniques, it’s time to grab your art supplies and let the colors of the sunset inspire you. Happy drawing!

